
 The Gallery of Ta-Da's


Felty fun, what a soapy, wet and splashing time the kids had. We decided to teach them to make Christmas decorations for the tree by wet felting into cookie cutters.
This is a really simple technique with great results.
First you take a towel and a cookie cutter, preferably a christmassy one.
You need wool tops which we purchased from the rather lovely companyhttp://www.torbaytextiles.co.uk/ who have a wide selection of lovely colours
Take the wool tops and pull them into wisps. Seperating is really important, tops will not felt if they are bunched in thick clumps. So wispy bits are what you need.
Take the wooly wisps and start to layer them into the cookie cutter, best to layer them firstly vertical then horizontal and then build up the layers alternating one way and then the other. This helps the felting process. You can layer with all sorts of colours you dont need to restrict it to one colour. We also used some angelina (a lovely synthetic sparkly textile, you only need add this in small amounts but if you are adding it, it is really important to place some wisps of wool over the top as this will seal and felt over it. If you dont do this then the angelina will just fall off as it felts.
Its surprising how dense you need to layer the wool tops into the cookie cutter. The higher the layering the thicker the finished piece.
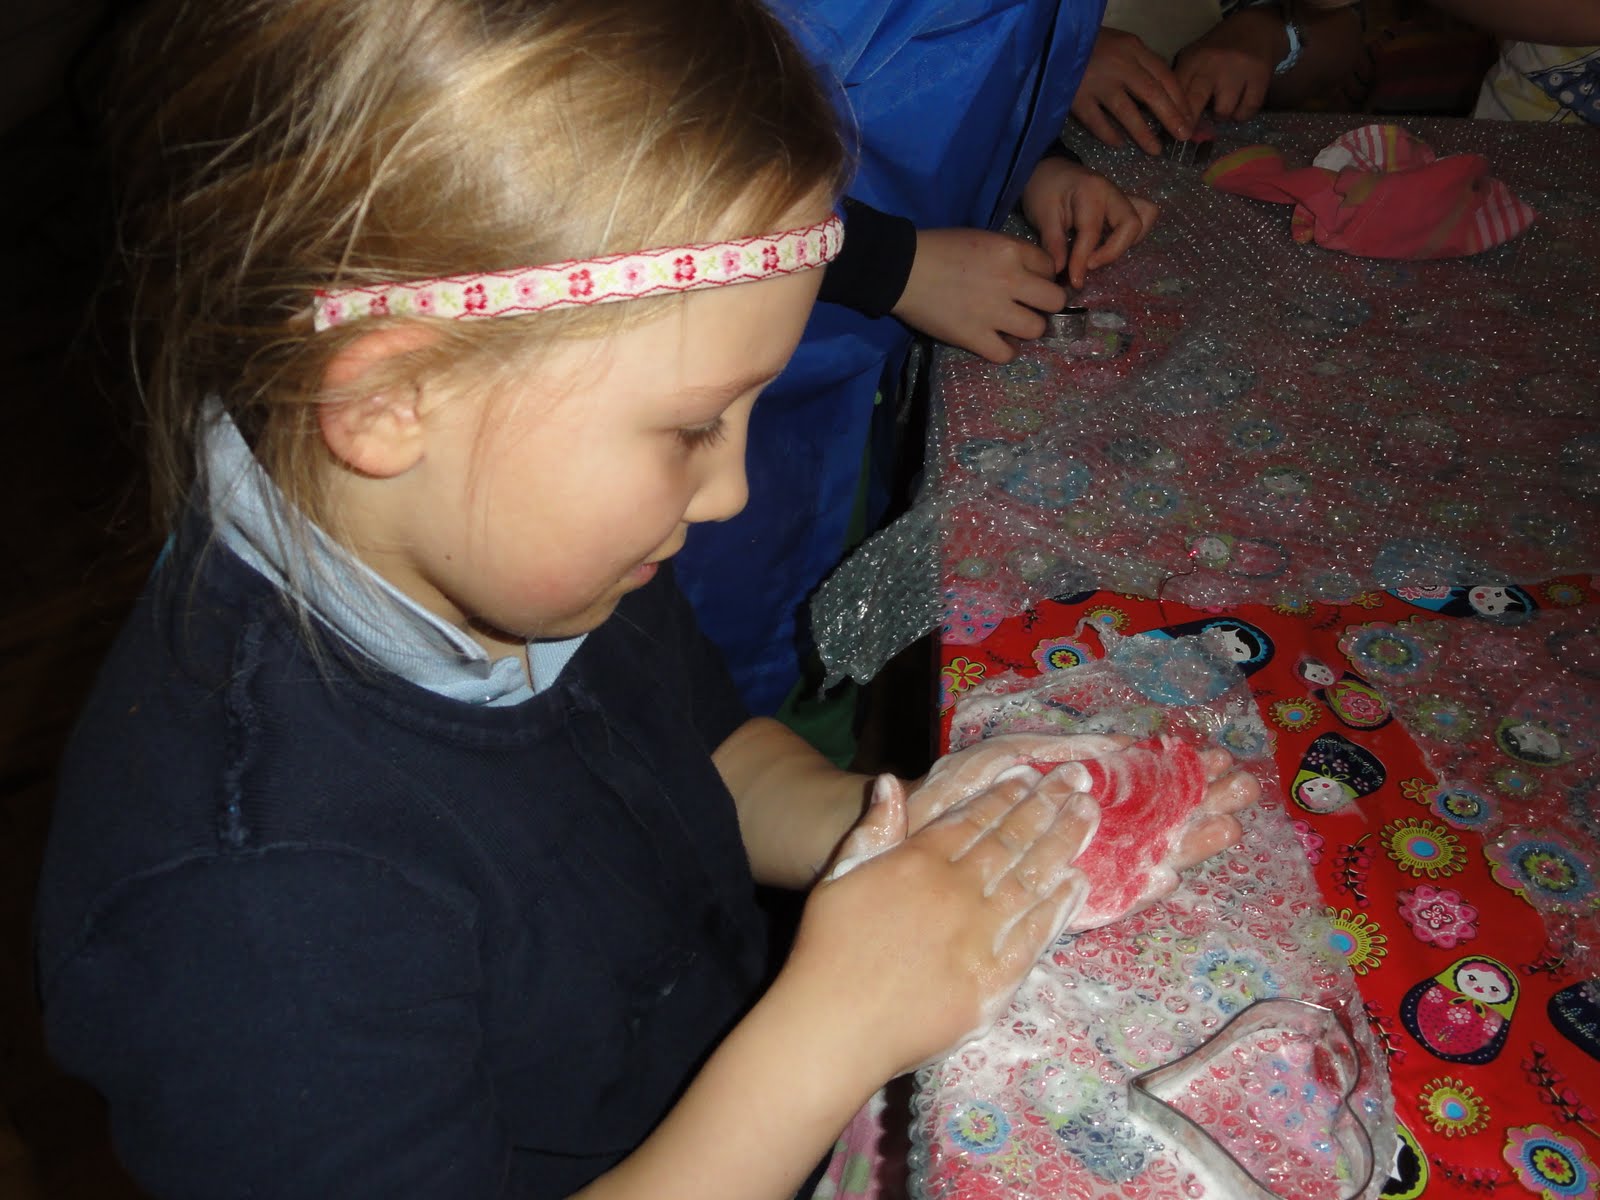
Once this has been done, then squeeze a small amount of Ecover washing up liquid onto the wool tops and gently poke for about 3 seconds. Once this is done, then pour warm water into the cookie cutter, completely saturating the wool tops, then begine the process of felting. You can use your finger (good for kids as they have such little ones) or you can use the eraser end of a pencil or a smooth end of a knitting needle. Anything really. The process basically involves poking the wool tops to felt them. This is quite a long process, around 20 mins needed. As the fibres start to felt, it will feel less boggy to the touch and harder. Once it starts to feel harder then you can poke the felt more vigorously.
Keep going, the more you do this the better your result. Keep poking, keep poking. Eventually once alot harder, the shape can be gently removed from the cookie cutter, placed between two pieces of bubble wrap, bubble side down and rubbed vigorously. To keep the edges in shape then rub the edges with a little friction moulding them into shape.
You know you are finished when you try to pinch the fibres and they remain on the shape, if you can pinch the fibres up then your piece is not yet felted and needs more rubbing and agitation.
Once finished, press your shape in a towel to remove excess water and leave to dry. When its dry, ask an adult to poke a hole in the top of the shape and pop a ribbon through, hey presto! a lovely tree decoration!
Have fun, lots of love The Craft Hub Make and Taker
No comments:
Post a Comment