Have a really lovely Christmas to all our lovely children who have worked hard on their crafts for the last 6 weeks. Cant wait to see most of you back again for our next term Make and Take in 2012. We have lots of fantastic making planned for 2012. Until then,
Merry Christmas
and a Happy New Year
lots of love Hannah and Pip xx
The Craft Hub's Make and Take Club

After school craft club in Exeter for kids between 5 and 15
Wednesday, 21 December 2011
Tuesday, 6 December 2011
Sewing Christmas Cards
 The children's finished masterpieces
 Ella completing her card with Christmas Wishes
 Olivia's patchwork creation, lovely stuff
 Team work around the old Singer sewing machine
 India's Miffy the rabbit in her christmas dress
 Joe's Christmas Shark (do... do, do... do, duh.duh...duh.duh)
 Violet's rockin' robin
 Eleanor's gingerbread man
 Sharky sewing fun
 Han and Pip's 'here's one a made earlier's
This week we taught the kids to sew christmas scenes then machine stitch them onto card using an old singer sewing machine. The children didnt have to be neat just as long as the bits were attached to each other and they had a go!
It was lovely, Hannah and I had done our 'here's one I made earlier' to give the kids a template of what could be done. We worried that they would just try and copy what we had done. We need'nt have worried.......
Violet made a lovely fabric robin, with little apple buttons lining the bottom of her work
Joseph made a Christmas Shark (of course), with a button eye.
Lots of the children chose to do Christmas trees, all totally different from the next.
Daniel (helped by mum) did a Snowman and Eleanor a gingerbread man. They are such a creative bunch, we were sew impressed! (groan)
The next thing was to sew these masterpieces onto card, to make the Christmas Card. I brought along my old handle turn singer sewing machine and we got to work machine sewing. The kids worked as a team, with one person turning the handle and the other making sure the the piece fed in to the machine in a (semi) straight line. It was really great fun.
Thanks to all your hard work Children. Han and I hope you're looking forward to next week's pom-pom snowballs, pom-pom take a long time to do, but are well worth it.
See you next week, love from the Craft Hub Make and Take gang
Monday, 5 December 2011
Wet Felting - Week 4
 The Gallery of Ta-Da's


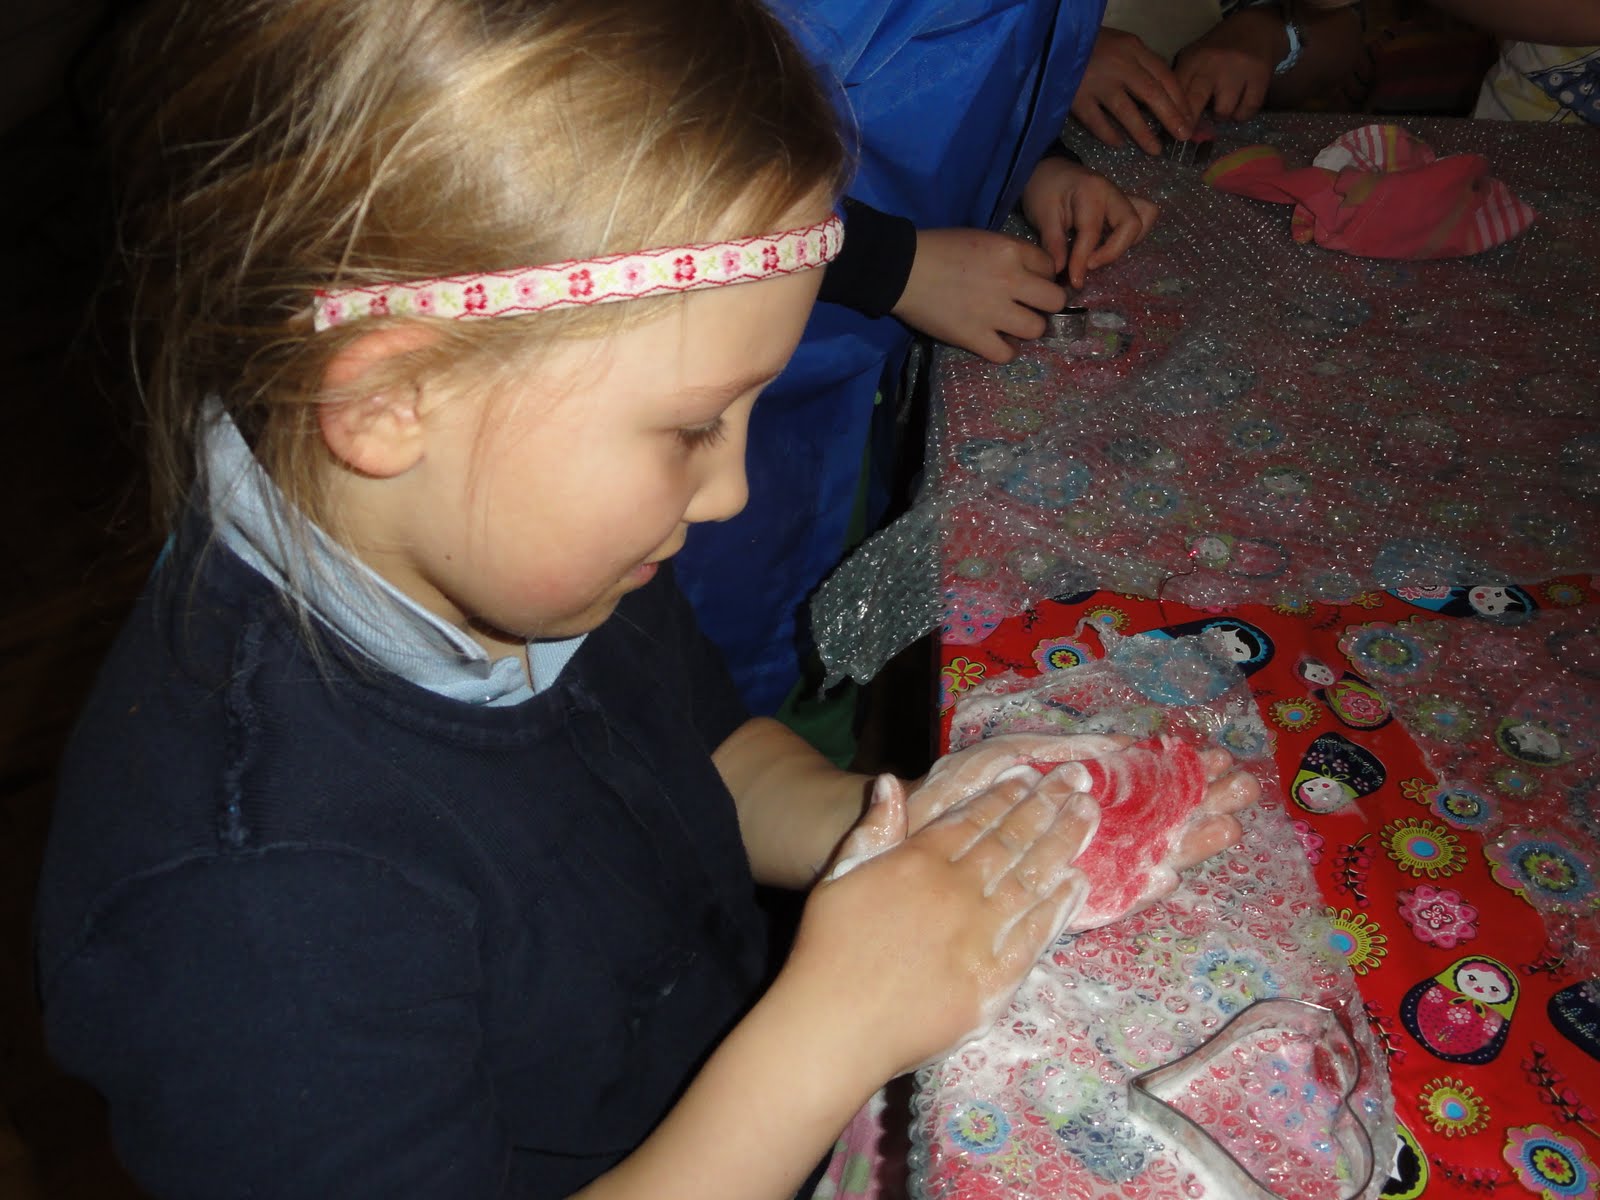

Felty fun, what a soapy, wet and splashing time the kids had. We decided to teach them to make Christmas decorations for the tree by wet felting into cookie cutters.
This is a really simple technique with great results.
First you take a towel and a cookie cutter, preferably a christmassy one.
You need wool tops which we purchased from the rather lovely companyhttp://www.torbaytextiles.co.uk/ who have a wide selection of lovely colours
Take the wool tops and pull them into wisps. Seperating is really important, tops will not felt if they are bunched in thick clumps. So wispy bits are what you need.
Take the wooly wisps and start to layer them into the cookie cutter, best to layer them firstly vertical then horizontal and then build up the layers alternating one way and then the other. This helps the felting process. You can layer with all sorts of colours you dont need to restrict it to one colour. We also used some angelina (a lovely synthetic sparkly textile, you only need add this in small amounts but if you are adding it, it is really important to place some wisps of wool over the top as this will seal and felt over it. If you dont do this then the angelina will just fall off as it felts.
Its surprising how dense you need to layer the wool tops into the cookie cutter. The higher the layering the thicker the finished piece.
Once this has been done, then squeeze a small amount of Ecover washing up liquid onto the wool tops and gently poke for about 3 seconds. Once this is done, then pour warm water into the cookie cutter, completely saturating the wool tops, then begine the process of felting. You can use your finger (good for kids as they have such little ones) or you can use the eraser end of a pencil or a smooth end of a knitting needle. Anything really. The process basically involves poking the wool tops to felt them. This is quite a long process, around 20 mins needed. As the fibres start to felt, it will feel less boggy to the touch and harder. Once it starts to feel harder then you can poke the felt more vigorously.
Keep going, the more you do this the better your result. Keep poking, keep poking. Eventually once alot harder, the shape can be gently removed from the cookie cutter, placed between two pieces of bubble wrap, bubble side down and rubbed vigorously. To keep the edges in shape then rub the edges with a little friction moulding them into shape.
You know you are finished when you try to pinch the fibres and they remain on the shape, if you can pinch the fibres up then your piece is not yet felted and needs more rubbing and agitation.
Once finished, press your shape in a towel to remove excess water and leave to dry. When its dry, ask an adult to poke a hole in the top of the shape and pop a ribbon through, hey presto! a lovely tree decoration!
Have fun, lots of love The Craft Hub Make and Taker
Monday, 21 November 2011
Little Box of Treasures - Snowy, kitschy fun with Shoe Boxes
 It was a hour of snowy, glittery, kitschy fun at Make and Take Club this week. Hannah and I spent the afternoon before club making our own little boxes of fun to bring as a 'here's one a made earlier' for the kids inspiration. Oh my goodness what fun, harked straight back to childhood, when I would painstakingly cut out bits of carpet and make furniture out of old yoghurt tubs and glue. It was a Christmas theme and boy did our kids do well. Each of the finished masterpieces all had a little imprint of the childs' personality in them. India did a kitschy, colourful gypsy caravan box, Daniel's had perfect symmetry and really beautifully decorated scene complete with handmade snowmen, Ella chose to make a massive santa sleigh full of gorgeously wrapped presents with a little dog (her favourite animal) as the reindeer. Joseph, created a fantastic melty snowman with great big eyes and a wide smile in his Christmas scene and Olivia made an amazing snow and ice scene for a princess (complete with princess) very Bollywood! Violet created a snow scene with a bridge out to an area for dogs, whereas Lottie's creation was a vibrant snowy scene with a lovely handmade snowman. Olivia and her little sister created lovely colourful snow scene with loads of glitter and their mummy Libby managed a gorgeous room of her own. Last but not least was Tom with his snow scene and giant Santa Claus all ready to bear gifts. Hannah's snow scene was spectacular! She used some battery operated fairy lights to poke through holes in the back of the shoe box to warm up her Christmas scene an idea that i will be stealing for Joseph's finished creation. My room, a homage to the cosiness of Christmas, complete with flickering wood burner and a large amount of Bollywood kitsch thrown in. It was really great fun, we made a lot of mess (sorry Joey) and wow I'm just so impressed with what the children managed to make in the space of an hour. Well done. Looking forward to next week's wet felted Christmas decorations. Here is our gallery of finished masterpieces Ta-Da!
Aw two lovely sisters

That's brilliant well done

Great Joe, loving the chocolatey mouth

Joseph's melty snowman

These are just fabulous, so colourful and christmassy

Lottie's handiwork, such a happy snowman!

Olivia's snowy fit for a princess

Violet's complex snow scene and bridge wow

Santa's sleigh by Ella

Tom's snowy giant Santa

Daniel's snowmen and I particularly love the snow boards
in the background

India's bollywood, gypsy carvanesque winter scene

A gallery of treasures

My kitschy cosy living room


India's bollywood, gypsy carvanesque winter scene

A gallery of treasures

My kitschy cosy living room

Hannah magical snow scene, just love those lights
See you next week - Wet Felt Christmas Decorations xx
Monday, 14 November 2011
Finger Knitting Good!
A finger knitty fest

Well done Lucy, colourful as ever!

Olivia listening intently

Daniel's green snake taking shape

Violet's pretty scarf

Knitty Snake having a ssssssip of Joey's lovely tea
Hello folks, we had a funky finger knitting fest! today at Make and Take. Whoa, I didnt realise how complicated it is to teach this really exciting skill to a bunch of eager make and takees. It is actually a really simple make, however getting your head around the cast on (start off) row was possibly the most complex bit. I have dug out the You Tube video embedded below, and noticed that she makes the beginning row far less complicated than I managed by just removing the tail completely and not knitting the pointing finger stitch on the first row. (Much easier!).

The boys getting finger knitting fever!

Mmm someone's done this before

OOh I've got something stuck!

Well done Lucy, colourful as ever!

Olivia listening intently

Daniel's green snake taking shape

Violet's pretty scarf

Knitty Snake having a ssssssip of Joey's lovely tea
Hello folks, we had a funky finger knitting fest! today at Make and Take. Whoa, I didnt realise how complicated it is to teach this really exciting skill to a bunch of eager make and takees. It is actually a really simple make, however getting your head around the cast on (start off) row was possibly the most complex bit. I have dug out the You Tube video embedded below, and noticed that she makes the beginning row far less complicated than I managed by just removing the tail completely and not knitting the pointing finger stitch on the first row. (Much easier!).
The kids were very satisfied, leaving with scarves, snakes, bangles and necklaces and all promising that they were going to do lots more at home. Hope next week our mums and dads have lots of news of how much finger knitting has been done. What have we started! eeek xx

The boys getting finger knitting fever!

Mmm someone's done this before

OOh I've got something stuck!
Thursday, 10 November 2011
7th November - Make and Take our very first one!!
 Well what a wonderful, wonderful start to our fantastic creative endeavours. Make and Take Club, held at the Hub on the Green in Exeters Cathedral Green was a real success. The kids were lovely, the building is full of atmosphere and the parents had the chance to sit and talk to each other in a relaxed atmosphere.
 We learned about colours, starting with the primary colours and secondary colour mixes, each of us made a colour wheel using the primary and secondary colour mixes.
This is when the kids took over with their own artistic flair and produced some wonderfully creative work. It was fabulous and I cant wait for next week, FINGER KNITTING SNAKES, SCARVES AND NECKLACES.

What a cutie!
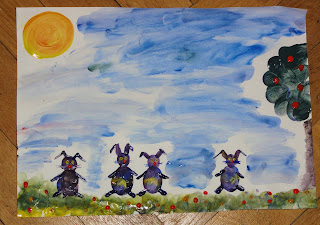
Joey one of our mums did this gorgeous bunny scene

Charlotte another mum, who is also a noted artist, wow!
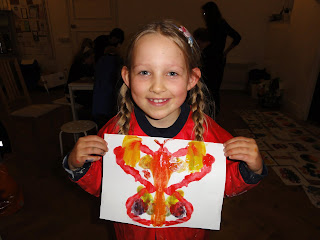

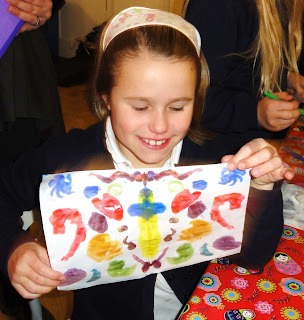
The Artists with their work


Joe again

Joe Aged 7

India Age 7

Ella
Daniel Age 7


What a cutie!

Joey one of our mums did this gorgeous bunny scene

Charlotte another mum, who is also a noted artist, wow!


The Artists with their work


Joe again

Joe Aged 7

India Age 7

Ella
Daniel Age 7

Subscribe to:
Posts (Atom)